On Indian Pudding: A Recipe for Adding History to Your Thanksgiving Tradition

Thanksgiving is such a joy to me. It’s a lot of work, and we have no family here in Maine to celebrate with; still, our little family has developed some lovely Thanksgiving traditions that are fun and important to us.

Since I love food history so much, I like to use Thanksgiving as an opportunity to teach my son a little food history behind Thanksgiving. One of my favorite traditions is teaching my son about what was on the menu at the first Thanksgiving.

While turkey may not have been on the menu, some kind of wild bird was, so it seems like the turkey is certainly close enough to accurate, right? But it’s fun to teach about the other foods that were served. According to historians, berries, onions, beans, and carrots were likely on the menu. Also (and this is probably the greatest departure for most of us), they probably served a lot of seafood.

Since I’m kind of a fan to sticking to the turkey and not having to prepare some fish as well at Thanksgiving, I focus on the corn as Thanksgiving tradition and history.


aaron-burden-40486
Photo by Aaron Burden on Unsplash


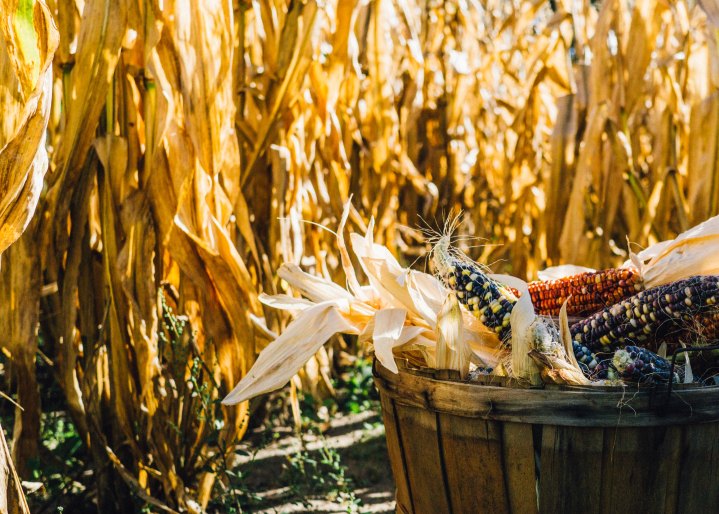
According to historians, corn was likely served–just not in the way we think. It was likely ground up into meal and made into a porridge like substance, which was then sweetened with molasses. We call this (or something close to it) today “Indian Pudding” or “Hasty Pudding.”

And it’s yummy! It’s a delicious way to add some fun history to your Thanksgiving traditions.

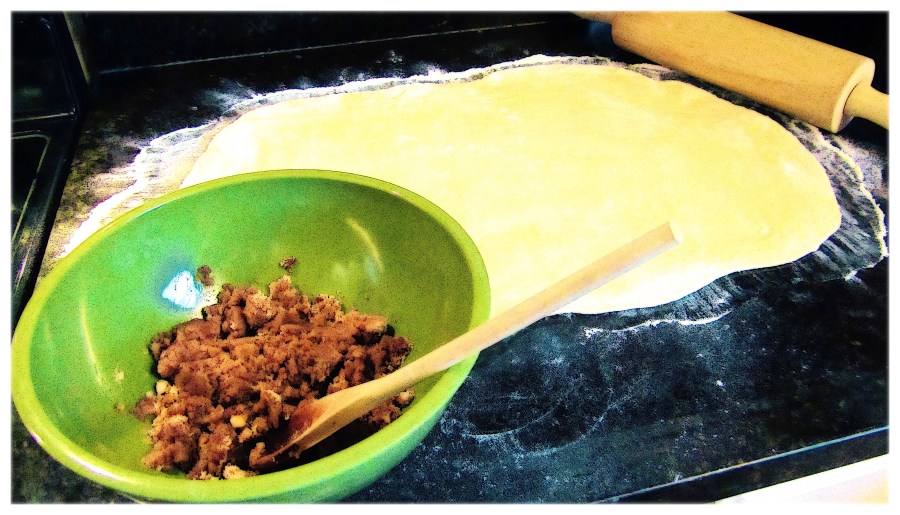
Please find my favorite version of the recipe below complete with my own recipe for the homemade whipped cream to go on top. This recipe is simple enough to make with your kiddos and can lead to a great conversation about Thanksgiving and history.

Indian Pudding (adapted from foodandwine.com)
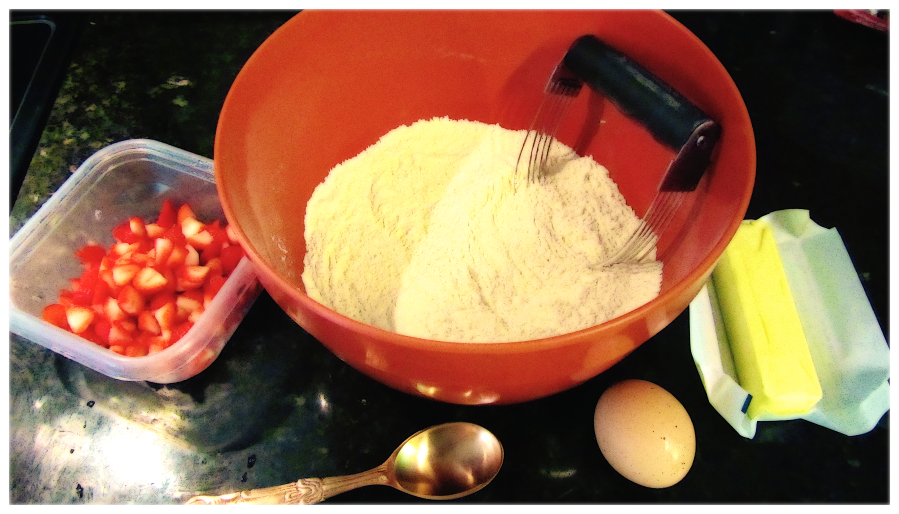
Ingredients:

2 cups milk

1 cup heavy cream

1/2 cup molasses

1/4 cup dark brown sugar

1/3 cup cornmeal

1 teaspoon ginger

1 teaspoon cinnamon

1/4 teaspoon salt

Pudding directions:

Preheat your oven to 350 degrees.

In a bowl, mix together the cornmeal, ginger, cinnamon, and salt. Set aside.

In a sauce pan, mix the milk, cream, molasses, and brown sugar. Bring it to a simmer over medium-high heat and stir it occasionally.

Add your dry mixture to your wet mixture and mix. Pour into an 8 X 8 baking dish and cook for 20 minutes. Remove from oven, stir, and then cook about 20 minutes more. The pudding will look wobbly, but it will set up more as it cools. It should cool at least 20 minutes.

Whipped Cream

Ingredients:

2 cups heavy cream

4 Tablespoons sugar

Whipped cream directions:

Pour your heavy cream and sugar into a mixing bowl and use a mixer to mix until your whipped cream is fluffy. If you don’t have a mixer, you can use a whisk, but you’ll have to whisk until your arm falls off and then some. I’ve done it this way before. It’s still good, and you do burn a lot of calories, which is very important to me at Thanksgiving.

Serve the Indian Pudding warm with the cool cream on top, and if you have a sweet tooth like me, add a double scoop of that cream!

I hope you enjoy adding a little history to your Thanksgiving tradition.

Happy Thanksgiving!

On Christmas Traditions and Cinnamon Rolls

While I really do try to eat healthy most of the time, I’m one of those people willing to just dig into the comfort food during the holidays.  Throughout centuries and cultures, we use food to bind us together, to feel connected, and to show people we love them. I feel that food traditions during the holidays are among the most important, and I’m willing to go for an extra walk in order to eat a few extra calories. roll-and-candles

With this in mind, I was after the perfect cinnamon roll recipe for years. My husband has these wonderful memories of his mom’s cooking when he was growing up. Specifically, he remembers how lovely and warm and wonderful it was when his mom made homemade cinnamon rolls for him and his siblings on Christmas mornings.

Since I love food, especially comfort food, I was determined to make cinnamon rolls for my husband and sons on Christmas morning. This was my plan. I wanted to carry on the tradition. Every year I tried. And every year I failed.

My husband’s mom was a great cook and was even a cook at the local school where my husband grew up in Montana, but, unfortunately, she passed away long before I even met my husband. This means no recipes for me, and while that may seem like a petty thing, “no recipes,” I’m a firm believer in food connections to memories and family, so even though the greatest tragedy is that my husband lost his mother, it’s no small tragedy that our family has none of her recipes to carry on with her traditions.

After first hearing the story about my husband’s warm memory of Christmas morning and cinnamon rolls, I set out to find a recipe and create a similar holiday memory for our family.

I started with a recipe that took like all day on Christmas Eve. It looked great, but, when you work with yeast, you usually are going to be working with it all day. But, oh my goodness, it was pretty awful. It was Christmas morning “this is pretty good because it has sugar on it” good but that’s about it.

Fail.

I tried again the next year, and I found a cinnamon roll recipe that looked good but didn’t take all day. Those were some hard cinnamon rolls and not comforting at all.

Fail.

But, last year, my husband found a quick dough recipe for dinner rolls, and I loved it. It allowed me to make yeast rolls in about 30 minutes. A miracle, right? And, then, one day we had the thought that maybe that dough could work with cinnamon rolls.

So I just invented a filling and icing plan and gave it a go. The results were quite comforting–and delicious.

This cinnamon roll recipe is now a part of our Christmas morning tradition, and I hope you enjoy them. You can make them in just a little over 30 minutes and maybe add a sweet breakfast treat to your holiday tradition.

Christmas Morning Cinnamon Rolls

Dough Recipe (adapted from Kitchenmeetsgirl.com)

Ingredients

1 cup plus 1 Tablespoon very, very warm water

2 Tablespoons active dry yeast

1/4 cup local honey

1/3 cup melted butter or olive oil (I used olive oil but use extra virgin olive oil)

1/2 teaspoon salt

1 large egg

3 1/2 cups of white, unbleached flour

Filling

1/3 cup melted butter

1 cup brown sugar

1 and 1/2 teaspoons cinnamon

(mix together and add after dough is rolled out)

Icing

1 and 1/2 cups of powdered sugar

1 teaspoon vanilla

4 Tablespoons milk

(mix together; icing should be thick)

Directions

In a bowl, mix the warm water, yeast, honey, and butter or oil. Let it sit for 15 minutes. Make sure the water is very warm!

After 15 minutes, the mixture should be fluffy and bubbly. Add your egg, salt, and 2 cups of the flour. Mix. Then, 1/2 cup at a time, add the rest of the flour. Roll it into a ball and let it rest for 10 minutes.

dough-ball

When the dough is ready, roll it out into a large rectangle. It should be thin for rolls and soft. Spread the filling evenly across the rectangle.

Carefully roll the dough from the long side of the rectangle. Go slowly and try to keep it even. When you have the dough into a giant roll, cut it into pieces about 1 inch to 1 and 1/4 inch wide. I usually have to leave off the ends and end up with 12 to 14 rolls.

cinnamon-roll-process

Bake the rolls in a glass baking dish, 9 X 13, at 385 for 10 minutes. Rotate and bake for 3 to 5 more minutes depending upon your own. The rolls will be golden brown in the top when ready.

Let the rolls cool slightly before adding the icing. In addition to being yummy, these rolls are pretty as well, and I struggle with pretty, so that’s saying something.

I serve the sweet rolls with our farm fresh scrambled eggs and some fruit on the side.

cinnamon-roll

I hope you enjoy these, and I hope our Christmas family tradition can warm your heart and tummy as well.

What are some of your holiday food traditions?

On Blueberries, Muffins, and Blueberry Thieves

blueberry muffins

So blueberry season is now upon us in Maine. One of the reasons I love the Maine summer is that we have three berry seasons: We start with strawberry season; then the raspberries come; and we end on blueberries.

We kind of have a fourth season of summer in Maine, but it has nothing to do with berries. I think it’s called the “melancholy that our beautiful summer is almost over” season, but that’s for writing about later. Right now, it’s blueberry time!

I love blueberries. I mean, I don’t have the history with blueberries that I have with strawberries, but I love them so much that, two years ago, for my birthday, my husband bought me six blueberry bushes to plant in our garden.

It was a bit of a rough go at first. There was a bunny who ate both leaves and berries. Then, one of the bushes got sick. Still, last summer, we had a small but delicious crop of blueberries.

But, this year, things were looking great. All six bushes were loaded with berries, and I was so excited!

Until the unthinkable happened…our ducky-ducks ate all the blueberries!

There were like 50 to 70 berries left at the top of the very tallest bush. Our sweet little ducky-ducks (aka blueberry thieves) ate everything else! I am talking about hundreds and hundreds of blueberries. Those stinkers! Still, I can’t be mad at them because they’re cute, and they’re just doing what ducks do.

My husband fenced off most of the garden, but he didn’t fence off the blueberries. We paid for this and learned a hard lesson. Next year, it’s the fence!

But, we still had like 75 to 100 berries left, and I, being the optimist I am, thought this would be just enough to make a good batch of blueberry muffins. I have this amazing blueberry muffin recipe (see below), and I wanted to make a batch with our own blueberries.

Unfortunately, those little ducky-ducks were very persuasive. As I was picking those beautiful blueberries on the tallest bush, a few of our chicky girls came over to “share.” They’re so cute, I couldn’t resist sharing some. But the next thing I know, the ducks are with me.

There they were. Chewing hopefully on the blueberry bush next to me (on one that had already been stripped) and looking at me from the side, as if to say “Oh, mama, we love the blueberries. Please share with us.”

And if you think I’m making up that look, you have to meet our ducks. Believe me, they know what they’re doing.

So what am I supposed to do but share blueberries? So I did.

image of duck
I ask you, is this not the face of a persuasive, blueberry thief?

I think we still have enough for one batch of muffins, but it looks like it’s going to be another year of purchasing and picking blueberries from a local farm. Of course, that’s OK because that’s awesome too.

If you live in Maine, here’s a great blog post from Diane Atwood’s Catching Health offering a list of places you can go to pick blueberries. It’s an awesome resource!

And, once you get your berries, you might want to try them in this delicious bed-and-breakfast-style blueberry muffin recipe.

As an aside, I’ve never been to a bed and breakfast, so I don’t know what kind of muffins you would get at one, but if I had a bed and breakfast, you could get these blueberry muffins there. They’re a hit with my whole family—and our neighbors. Plus, they’re super quick and easy to make.

Blueberry Muffins with Crumb Topping

*Please note that this recipe was adapted and “remixed” from several recipes years ago, so I have no recipe to credit here.

blueberries from garden
This is all we had left after the thievery and the begging!

Ingredients for Muffins

1 ½ cup of flour

¾ cup of sugar

½ tsp. salt

2 tsp. baking powder

¼ cup canola oil

½ teaspoon vanilla

1 egg

almost ¾ cup of milk

1 ½ cup of blueberries

Ingredients for Topping

½ cup light brown sugar

⅓ cup flour

1 ½ teaspoon cinnamon

¼ cup soft or melted butter

Directions

In a large bowl, mix all of your dry ingredients for the muffins together. Add the wet ingredients and be careful on the milk. It really does need to be a little less than ¾ cup of milk. Too much milk seems to really negatively impact the muffins. After you mix the wet and dry ingredients, fold in your blueberries.

Use fresh blueberries your ducks didn’t steal if possible.

Muffin Batter
Be careful not to squish the blueberries too much, or your batter will turn purple, which is kind of pretty, I guess.

For the topping, mix the sugar, flour, and cinnamon. After you have mixed those well, add ¼ cup of the soft or melted butter. The topping should be crumbling just a bit, so if it’s too moist, you can add a dab more of brown sugar or flour.

blueberry muffins
So yummy!

Put into a 12-muffin pan and bake for 15 to 16 minutes at 375 degrees.

It’s a pretty easy recipe and so delicious. I hope you enjoy!


On Strawberry Scones

scone ingredients

It’s strawberry season here in Maine, and strawberries are my favorite fruit. Of course, during blueberry season, I’m convinced blueberries are my favorite fruit, but strawberries and I go way back.

When I was little, I loved strawberries with a passion, but, when I was growing up, we didn’t have a lot of money for things like fresh fruits, which meant I didn’t get a lot of strawberries. Still, every year, on my birthday in May, I would get a strawberry cake, and I would be in heaven.

I think strawberries became even better in my little child mind, and I’m pretty sure I built up a myth about how delicious they taste, though they’re pretty delicious. Still, I admired their color, texture, and juiciness to an unusual level, I’m sure. When I would see other children eating strawberries, I was undoubtedly too envious.

So, as an adult, when my husband and I started our garden, some of the first things we planted were strawberries. My husband built me two large raised beds, and we filled them up with June-bearing strawberries. Having to wait the first year, because you can’t let the plants make berries the first year they are planted, just about killed me.

But, now, we are all set, and as I fill up my bowl with the strawberries I pick in the mornings, I feel a little bit like my life has come full circle. I have plenty of strawberries, and I love that we grow them ourselves.

fresh strawberries
These strawberries were picked fresh for scones this morning. The harvests are still a little small, but the berries are really just getting going.

I even have enough to share, though I have found myself far less generous with our strawberries than I am with the other foods we grow in our garden. I may need to work on that, but, then, strawberries and I do go way back.

Anyway, since the glorious strawberries are upon us, I wanted to share the best strawberry scone recipe I have found. I have searched for nearly a decade for the best scone recipe, and I finally found one that, with some adaptation, worked very well, I think.

This recipe has been revised quite a bit but adapted from the beautiful cooking blog Pinch of Yum.

Makes 8 Giant Scones

Ingredients:

2 cups flour

½ cup sugar

1 Tablespoon baking powder

½ teaspoon salt

½ cup cold salted butter, cut into tiny cubes

1 egg

¾ cup heavy cream

1 to 1 ½ cups fresh strawberries, cut into small pieces

additional heavy cream for brushing before baking

1 ½ cups powdered sugar

3 Tablespoons milk

parchment paper

Directions:

In a large bowl, mix together your dry ingredients. Then, add the tiny pieces of butter and cut the butter in using a cutting-in tool (I don’t know if those things have a particular name, but I have one pictured here). Then, mix in the egg and the heavy cream with a wooden spoon.

scone ingredients
Here are some of the key ingredients. I have no idea what the cutting in tool is really called, but it is a must-have for baking with butter.

Once things start to get a little bit mixed, you will likely have to use your hands. The dough is dense, and I usually have to work everything in with my hands to get things mixed.

Now, it’s time to add your strawberries. Using your hands, mix in the strawberries as much as you can without squishing them too much, though some squishing seems to be inevitable.

Bring the ball of dough to your counter covered in flour. Using flour on your hands to help keep the dough from sticking to you, spread the dough out into a relatively flat circle, as you can see in the picture.

Cut the dough into 8 triangles and place them on a cookie sheet lined with parchment paper. Now, brush on some additional heavy cream to make sure the tops of each scone are covered with the cream.

scones pre-baking
These are the scones pre-baking, cut from the flat circle into triangles. They will rise quite a bit, so that’s something to keep in mind.

Bake at 385 degrees for 16 to 18 minutes, depending upon your oven. I highly recommend you start checking at like 15 minutes because you never know.

When the scones are golden brown in the edges and can pass the toothpick test, they are done. Try not to overcook them.

While they are cooling, mix the powdered sugar and 3 Tablespoons of milk to make the glaze. The glaze should be pretty thick. If it’s too thin, it will just be absorbed by the scones, which is not as good, in my opinion. Brush the glaze on each scone after the scones have had a chance to cool just a bit. It’s okay if they are warm, just not hot.

Serve warm if you can, and enjoy!

strawberry scone
These strawberry scones are heavenly! I promise!

These strawberry scones were made with fresh strawberries from our garden, but if you don’t have strawberries growing in your back yard, check out this excellent blog post from Catching Health with Diane Atwood for places in Maine where you can pick fresh strawberries right now.

If you don’t live in Maine, come visit us at least. We have the best berries. I might be willing to share some.