I hope I’m wrong, but I think we’re looking at a future in our country that looks different than what we have been used to. We will get through this, but our economy might struggle for a while.
With that in mind, I am starting an educational series on chickens and gardening with an eye toward doing it as frugally as possible. You see, my husband must be one of the most frugal and efficient humans in the country, and over the last six years, I have learned from my husband and he has learned—from both research and by following his intuition—how to create a cycle of homesteading that is highly self-sufficient.
And frugality and self-sufficiency are what we are probably going to need for some time.
So I’m starting a series of instructional essays on how to get started with chickens and then how to use them to help create a little homestead that is as self-sufficient as possible.
This week, we start with how to prepare for baby chickens. I’ll start with a list of supplies and offer notes and links on each one below.
Supplies
Some kind of brood box
Some kind of bedding material
Baby chicks
A chicken waterer
Chicken vitamins or electrolytes
A food dispenser
Chick starter
Heat lamp or chicken heater
Temperature gauge
Some kind of brood box
To be frugal on this, my husband built a brood box out of scrap wood, but we also have one that is just a giant plastic bin from Walmart. They are pretty cheap. In fact, you may have one at home already. I just recommend getting the biggest one you can get, depending on the number of chicks you plan to start with.
When the chicks are really little, almost any kind of big box will due. Just keep in mind that the babies will grow quickly, so while you have them in a brood box, be planning for the next stage for when the chicks feather out (get their feathers). You will want a safe coop for your chickens, but I will talk about that in a separate post on coops and coop options.
Some kind of bedding material
You can get a bag of pine shavings, which will work great, for about $6.00 at Tractor Supply. But you can get by more frugally than this even. If you have trees and have dried leaves, you can just crumble those up and use them. Then, there’s no cost for this.
The key is to not use something like newspapers or paper towels. You want something with “give,” so your baby chicks do not get splay leg. Think about the goal as to recreate a baby chick just being on the earth. There’s grass and “give,” so you want something like that, but it doesn’t have to cost you anything.
You will just change the bedding when it gets poopy.
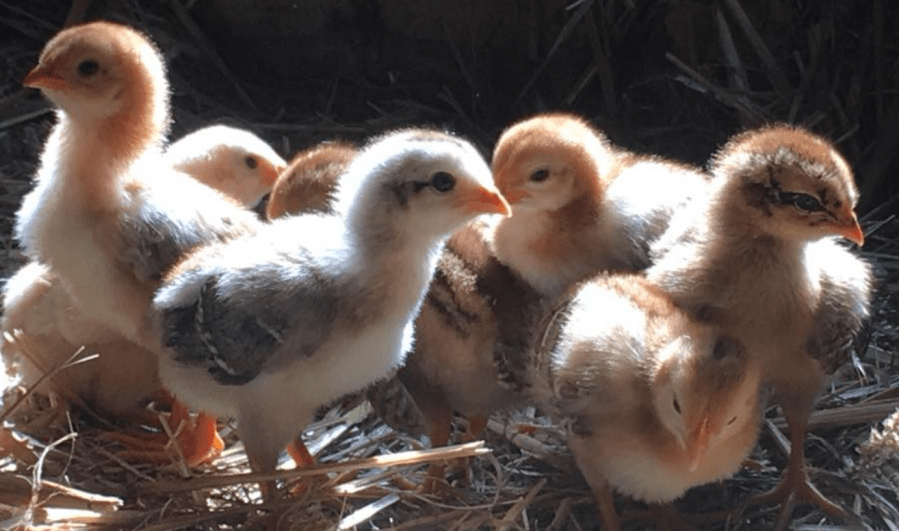
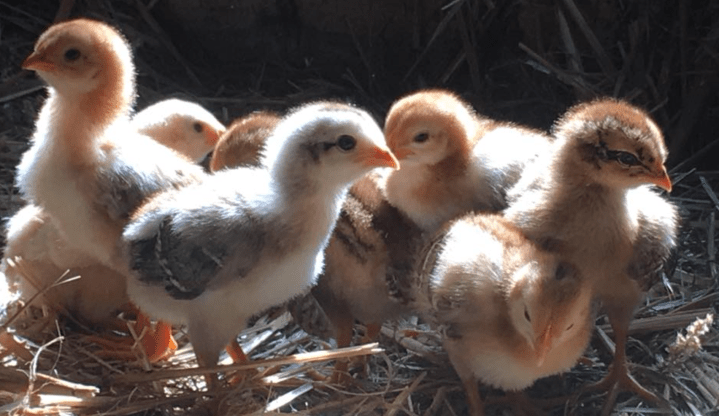
Baby chicks
You have options on this too. You can order chicks online, find them in the spring at farm and feed stores, or get them from a local chicken lady.
The thing you will need to know is the difference between a straight run and sexed chicks. If you live in an area where you can’t keep roosters, you want to get sexed chicks and make sure you just get girls. If you get a straight run, you will get a mix of boys and girls, and baby boys do turn into roosters.
However, with issues of self-sufficiency coming to the forefront, if you want to be able to make your own chicks (another post on this coming soon), you will need at least one boy.
A chicken waterer
You need an official chicken waterer because you don’t want your babies to drown in a big bowl of water, but, thankfully, waterers are cheap. You can get this one at Amazon for less than $15.00, and if you have a small amount of chicks, say 10 or less, you can just get this small one for $8.00.
My best advice for you is to be very diligent keeping the water clean. It helps so much in the long run, as dirty water or lack of water leads to health problems that are easily avoided by just keeping the water clean every single day.
Chicken vitamins or electrolytes
Some say these are not necessary, but I am a believer in this, as I think getting chicks off to a good start is going to help so much in the long run. Plus, they are cheap. You can get a bottle for less than $10.00, and you don’t even have to use a whole tab per gallon as directed if you want to stretch things a bit. But one bottle will last a long time and will cover several rounds of baby chicks. It can also come in handy later when your chicks are all grown up. I give our adult flock the electrolyte tabs in their water on hot summer days.
When you clean the water every day, just dissolve a portion of a tab into the water. It’s easy, cheap, and does a lot of good.
A food dispenser
You will want to use something other than a bowl or plate for food because chicks poop a lot, and they will poop in the food. They will also spill the food. And you don’t want any food to be wasted. You can get a plastic feeder for around $5.00.
Chick starter
You will to get some baby chick food as well. This comes in bags and can be found online and in feed stores. You will see both medicated and non-medicated chick starter. We have used both, but I recently learned from a vet that, if you are just running a small backyard flock, the non-medicated is all you need, so we have stuck with that the last couple of years. But some people want the medicated, and that’s fine too.
A 50 pound bag of food will cost about $17.00. How long that lasts depends on how many chicks you have, of course, but a big bag like that should last a while.
Heat lamp or chicken heater
Without their feathers and without a mama, baby chicks will need to be kept warm, so you need some kind of heater. Because I have a fear of fire, we now use a more expensive plate heater, but, for real, if you are careful, the heat lamp is just fine for a good while. Just never put it in the coop! More on that in another post.
A heat lamp and brace will run you about $10.00, and the bulb will run you another $5.00. Just be sure to get the red bulb, as white light will keep the chicks from sleeping, and you don’t want that. Babies need rest, of course!
Temperature gauge
Finally, you need to know what the temperature is in your brood box, so you will need some kind of inexpensive temperature gauge. I found one online for about $8.00. These are temps you want to aim for.
Weeks 1-2 = 95-100 degrees
Week 3 = 90-95 degrees
Week 4 = 85-90 degrees
Week 5 = 80 to 85 degrees
After that, you can judge based on where you live. If it’s really cold, you may want to keep a heat lamp going, but mostly people brood in the spring, and when the chicks get feathers, they are usually fine without heat.
One thing I can say after seeing a mama hen raise baby chicks is that the babies are tougher than you think. If your temps are a bit off, it’s better to be a little cooler than a little hotter. And watch the chicks. If they start desperately staying away from the heat lamp and drinking a lot of water, it’s too hot for them.
One last tip I have: If you are keeping baby chicks for the first time, just know some of them are going to sleep like they’re dead. It will give you a panic every time. Mostly, though, things are going to be okay.
I made a video for some additional support. I hope you find it helpful!
You can do this, and I am going to be here to help. One thing I want to be able to do now is share what I’ve learned with others. I can’t keep enough chickens to give everyone eggs, as I would like to, but I can teach people how to raise their own food.
One thing that’s awesome about chickens is that they begin to produce quickly. Depending upon the breed of hen you have, you will see eggs in as few as 18 to 20 weeks, so your upfront investment pays off quickly.
Good luck, and check out my Pajamas, Books, & Chickens Facebook page for more YouTube videos.
*Please note: I am a small blogger and am not paid for advertising these products listed in this blog post. I simply researched for the best deals I could find online. Of course, you would be able to find these products elsewhere, especially at local feed stores.
